I usually add 50-100 images for every single blog post I write.
But those aren’t just any images. I don’t create them with AI. I don’t take them from stock libraries. Instead, I take them myself.
That’s the only way to stand out.
Google and your audience knows if you’re using “lazy” images, that is, if those aren’t directly related to the content or if they have been used elsewhere.
#1 Only Relevant Images
Use images that support your blog content and provide actual value.
Anyone can add one of those generic stock photos into the mix. But what value does that bring to the reader?
Those will only make the blog post look more generic and AI-generated.

Your readers should be able to look at an image and immediately grasp its connection to the topic.
Irrelevant images can not only confuse readers but also dilute the overall impact of your content.
You don’t need studio-quality images. Those can cause more harm than good. If you use studio-quality images, your posts will easily look like ads.
Consider this review of a disc golf disc with generic stock footage of the disc.
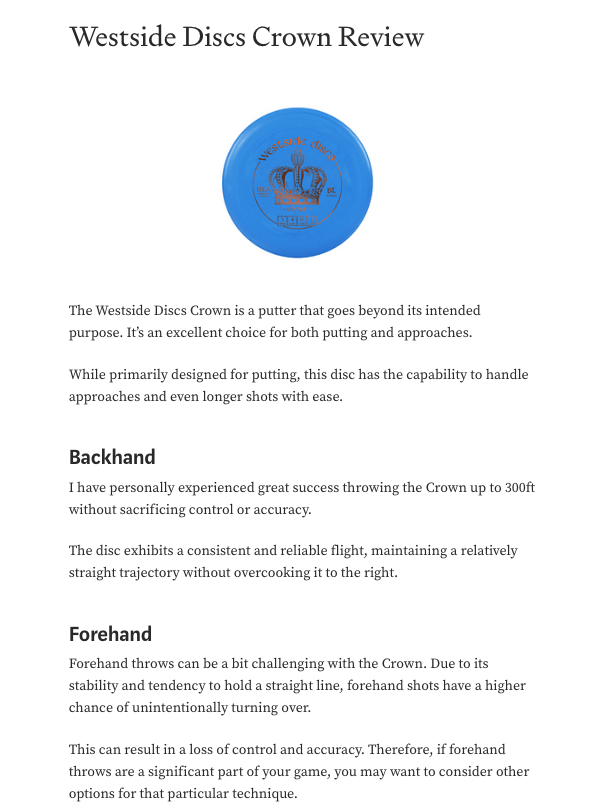
Then look at this one with my own images.
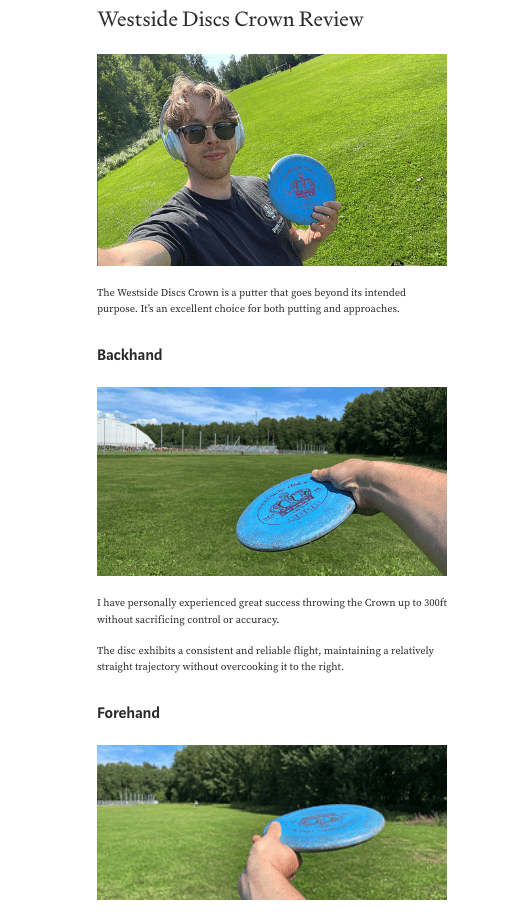
Which one do you think looks more authentic? Which review shows more experience with the product?
I bet you’d go with the latter one.
Notice how the images I took look very basic and “amateur”. The disc clearly has some wear and I’m just casually throwing it on a soccer field. But that’s the whole point of it. It’s not an ad. It’s not intended to rank high on Google just to get sales. It’s a casual review from a fellow player. It’s there to provide value.
Make your blog posts relatable by adding images to it. Don’t worry about the quality as long as the images truly help the readers.
#2 Specify Alt Texts
Alt text is a brief description of an image. It’s not the same as the caption of the image.

The alt text serves two vital functions.
- Helps visually impaired readers understand the content of the image.
- Allows search engines to better understand the image.
Typically, you can set the alt text from advanced image settings.
For example, on WordPress, you can do this as follows:
- Open up your post in the blog post editor.
- Click the Setting tab.
- Click on an image in your post.
- Click on “Block” on the right-hand side Settings tab.
- See the Alt Text section.
- Write a short one-sentence description of what you see in the image.
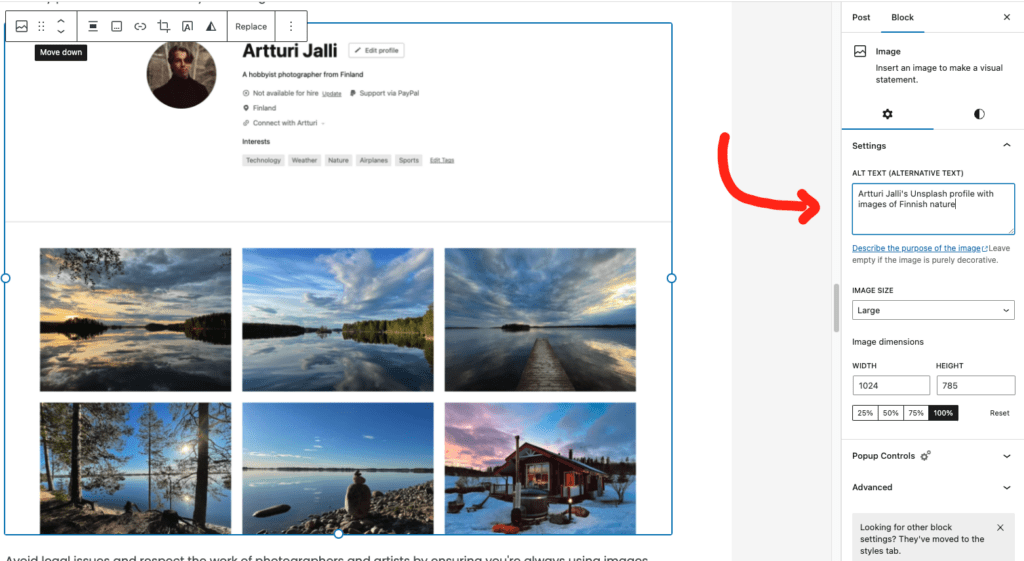
Always make sure your alt text is descriptive and relevant.
It should be a very short and concise description of what you see in the image.
To help write the alt text, imagine how you’d describe the image with one short sentence on a phone with someone.
#3 Use Descriptive Image Names
Your image’s file name shouldn’t be an afterthought.
Rename your images to include relevant words, as opposed to sticking with a default name like “IMG1234.jpg”.
While this is definitely not a make-or-break SEO tip, it can surely help make your content even more coherent and consistent.
To take home: Before you upload an image to your blog post, give it a descriptive name.
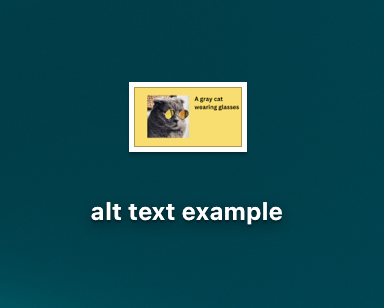
💡 Naming images can also help you find those images in your website’s media library. Just use the built-in search functions and search for words related to your image.
#4 Respect Copyright and Licensing
Make sure you have the rights to use any image you post.
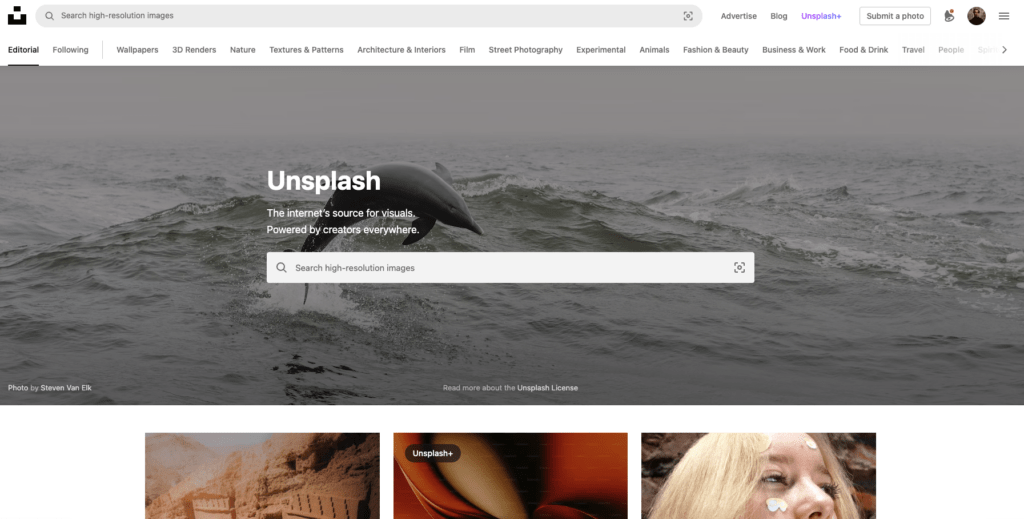
You can find numerous resources for free (and paid) images online. One of my favorites is Unsplash.
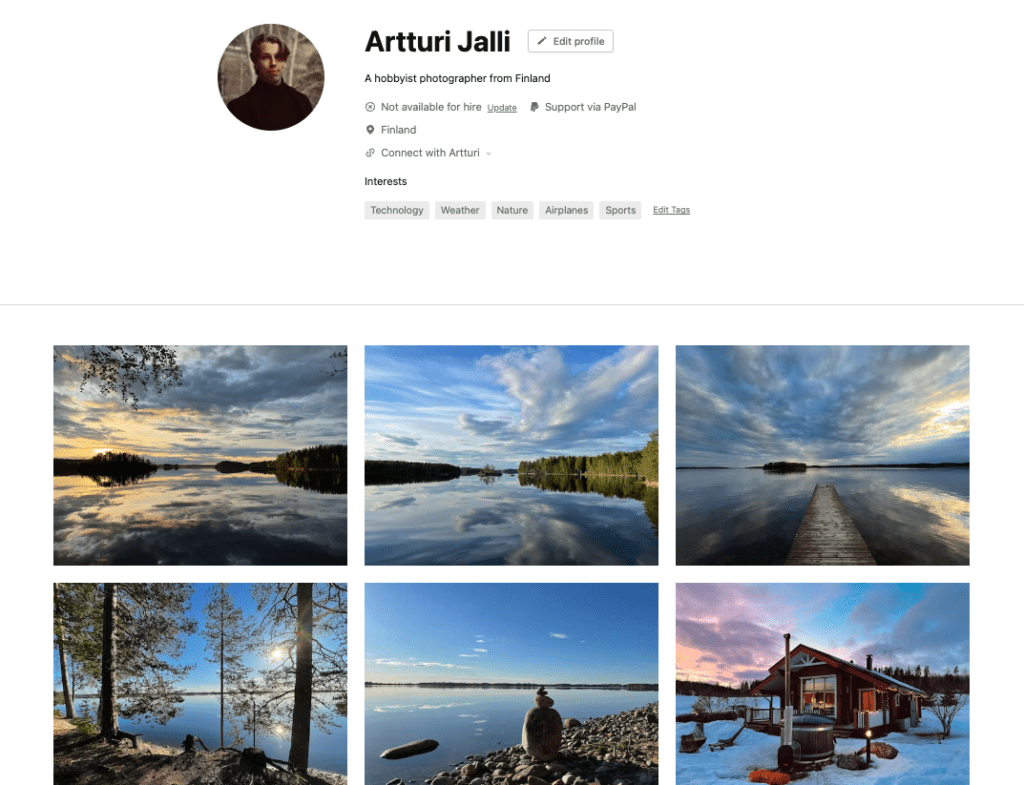
I even have posted some of my own images there for other bloggers to use.
The idea of Unsplash is that you find a ton of high-quality images that you can freely use in your blog posts. Just remember to credit the author!
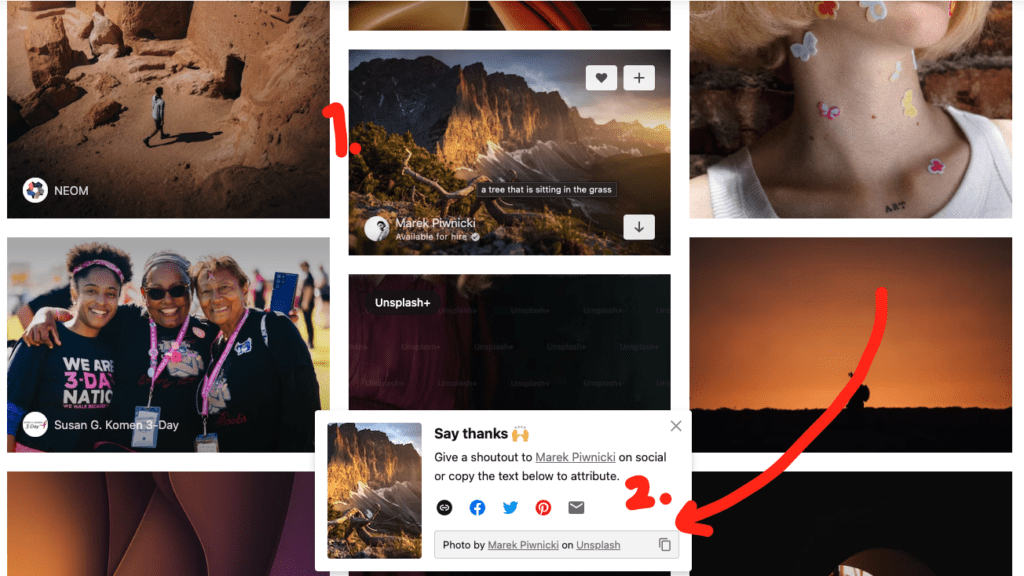
Crediting is made easy on Unsplash. Once you download an image, you can just copy a caption with credits to it.
Avoid legal issues and respect the work of photographers and artists by ensuring you’re always using images legally and ethically. You can’t just go ahead and use a random image without asking.
#Bonus: Optimize
Finally, let’s get into the “boring part”, which is image compression.
Don’t worry, it’s not technical and you can fully automate it.
Image compression reduces file size without a noticeable reduction in quality. This improves the performance of your site.


Keep in mind that these days website builders might even offer some automatic compression features.
For instance, if you write on Medium, the platform takes care of optimizing images. Thus, you don’t have to worry about it. Or if you’re using WordPress, you can compress your images by using a plugin.
One I recommend using is called Smush. It can compress existing images in batches and is super easy to set up.
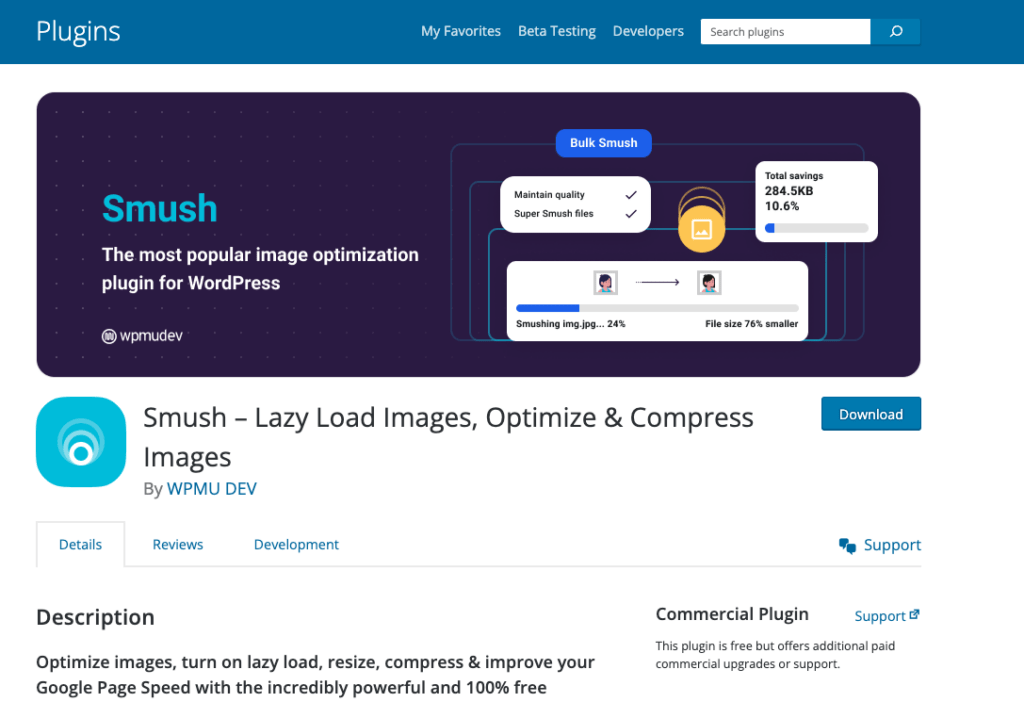
Once you’ve set it up, all the images you upload will be compressed automatically.
(Sometimes your web host might set up an image compressor on your site to begin with.)
A blog post without images is like an engine without a car. Use them and use them a lot! Add images absolutely everywhere.
Thanks for reading. Happy blogging!
